As a child of the 80s, I can't NOT do this QAL. I have the FQS 2012 BOM arriving any day now, my Dear Jane, and this. I've really gotta get cranking on my Dear Jane tho!

Showing posts with label quilt along. Show all posts
Showing posts with label quilt along. Show all posts
June 13, 2012
Have y'all seen this?!
Over at Angela's she is having an amazing quilt-a-long. Mario Bros. style. OMG, I think my heart just stopped.


February 23, 2011
Show & Tell
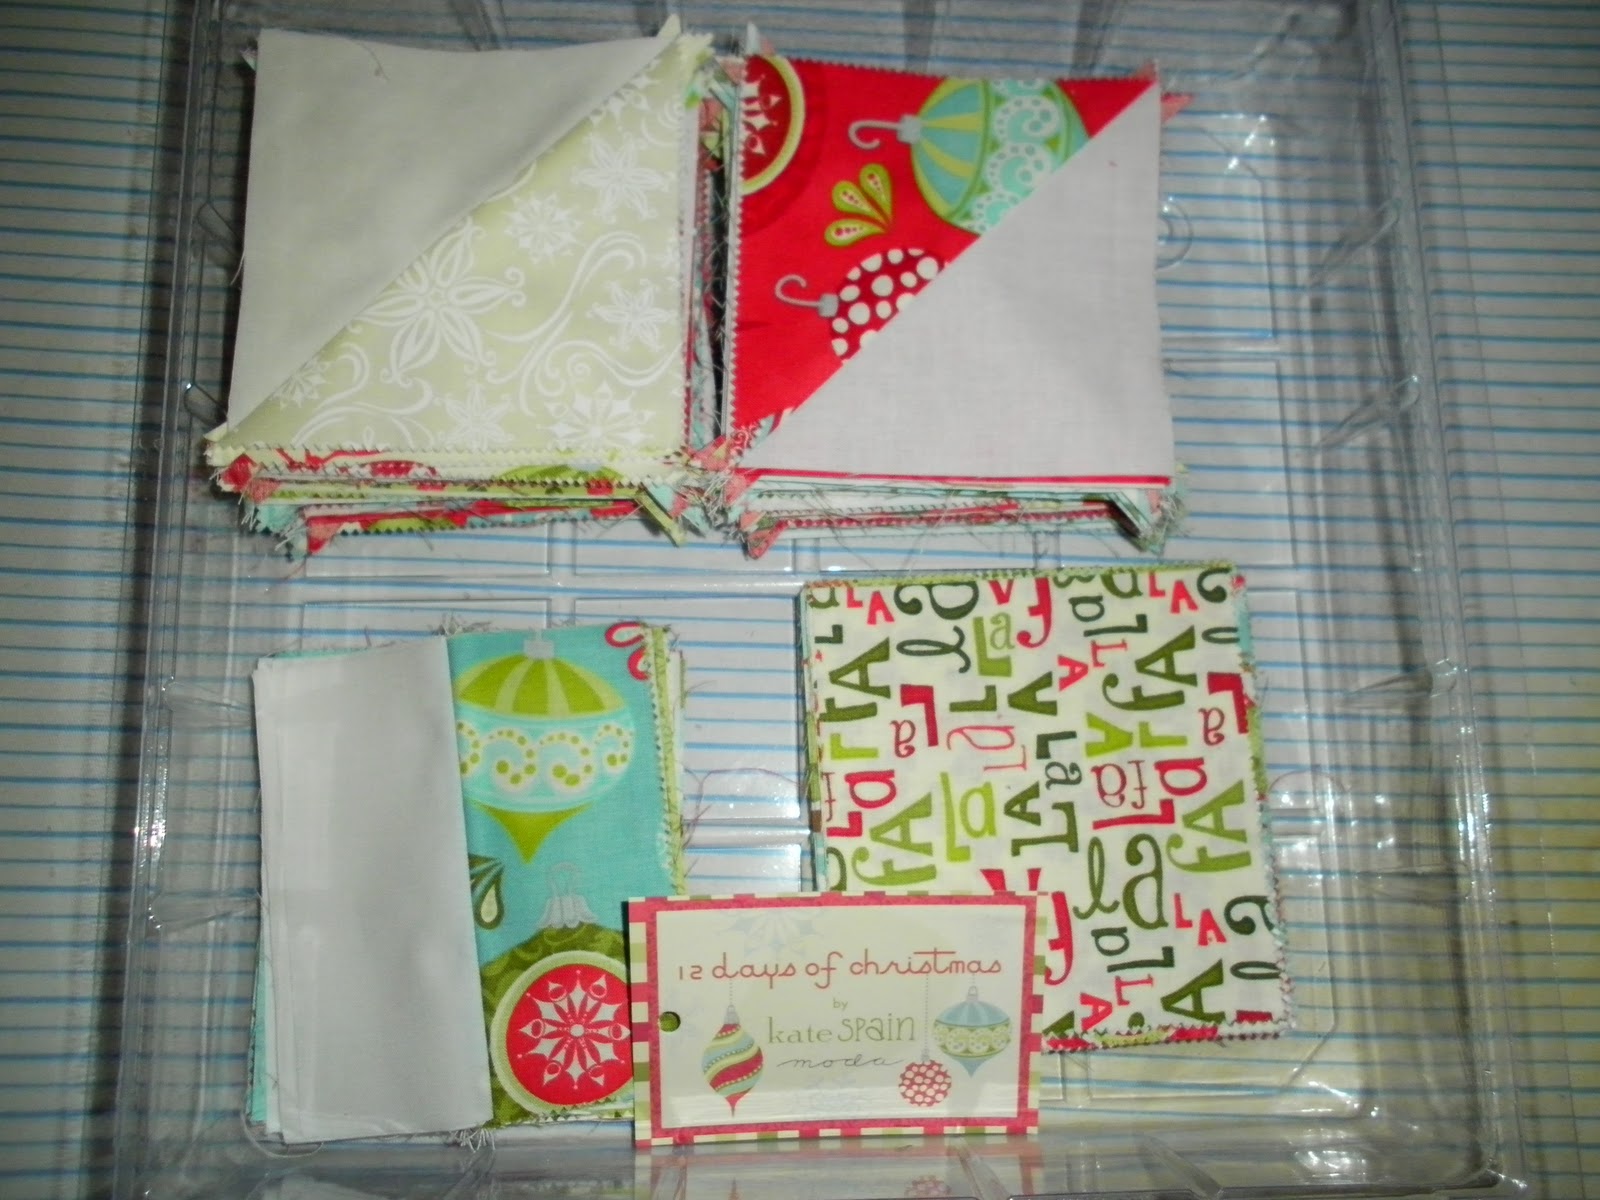
So, I decided to do KarrieLyne's Charm Pack Quilt Along even though it's been LONG over :p I had a layer cake of 12 days of Christmas by the awesome Kate Spain so I sliced that up and used it. I have to get more of white, I'm seriously considering just buying a bolt of Kona White, it's my go to solid and I buy anywhere from 3-5 yards at a time and it's gone just as soon as I buy it. I did a version of these blocks in the Bee Splendid quilt along she is hosting so I'm excited to see how this turns out!
 These are all the blocks in their container. I made the decision long ago to not make start any quilts that don't have a container. I bought more containers.
 This is the pile left after trimming about half the HSTs to 4 1/2" square.

 And lastly, two spiderweb blocks for this months Bee Splendid gal! LOVED doing these blocks.


August 14, 2010
*star sampler* block 9
Block 9 is here!
Here is what you will need:
From your SOLID (mine is brown):

Now, start by marking a diagonal line on the back of all 8 of your solid 2 7/8" squares. I don't have a photo of this since my line wasn't very noticeable on the back of my brown.
Pair one solid 2 7/8" square with the 2 7/8" squares from Print 1 and Print 2. Stitch a SCANT 1/4" seam on each side of the diagonal line.
 It's very important that this is a SCANT seam!!! Each square in this block should measure 2 1/2", you can always trim them down if they're slightly too big, better too big than too small!
Now trim each of those blocks on the drawn line and press your HSTs open.

Now, repeat the above 2 steps with your 3 1/4" squares.
Next take the blocks you made with your 3 1/4" squares and cut them in half diagonally like this, do this to all the triangles so it will yield 8 total solid/print triangles:

Take your 8 triangles of Print 1 and pair it with the above pieces.
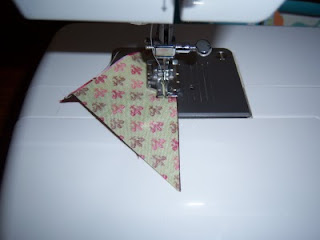
These blocks should resemble something like this:

Now lay out your entire block so it looks like this, your center pieces are the 2 1/2 inch squares from your Print 2!:
 Note: each of row has 6 - 2 1/2" squares and there are 6 rows. You should have 36 pieces total.
(pssst....mine isn't sewn together yet! i laid it out on my desk right where my sewing machine goes to take the pic, and whoops I was too freakin' lazy to move them all to sew them!)
Here is what you will need:
From your SOLID (mine is brown):
- 8 - 2 1/2" squares
- 8 - 2 7/8" squares
- 2 - 3 1/4" squares
- 4 - 2 7/8" squares cut diagonally to make 8 triangles
- 4 - 2 7/8" squares NOT cut diagonally
- 4 - 2 7/8" squares (mine are the hot pink)
- 2 - 3 1/4" squares (mine are the pink feathers)
- 4 - 2 1/2" squares (mine are the lime green floral print)

Now, start by marking a diagonal line on the back of all 8 of your solid 2 7/8" squares. I don't have a photo of this since my line wasn't very noticeable on the back of my brown.
Pair one solid 2 7/8" square with the 2 7/8" squares from Print 1 and Print 2. Stitch a SCANT 1/4" seam on each side of the diagonal line.

Now trim each of those blocks on the drawn line and press your HSTs open.

Now, repeat the above 2 steps with your 3 1/4" squares.
Next take the blocks you made with your 3 1/4" squares and cut them in half diagonally like this, do this to all the triangles so it will yield 8 total solid/print triangles:

Take your 8 triangles of Print 1 and pair it with the above pieces.
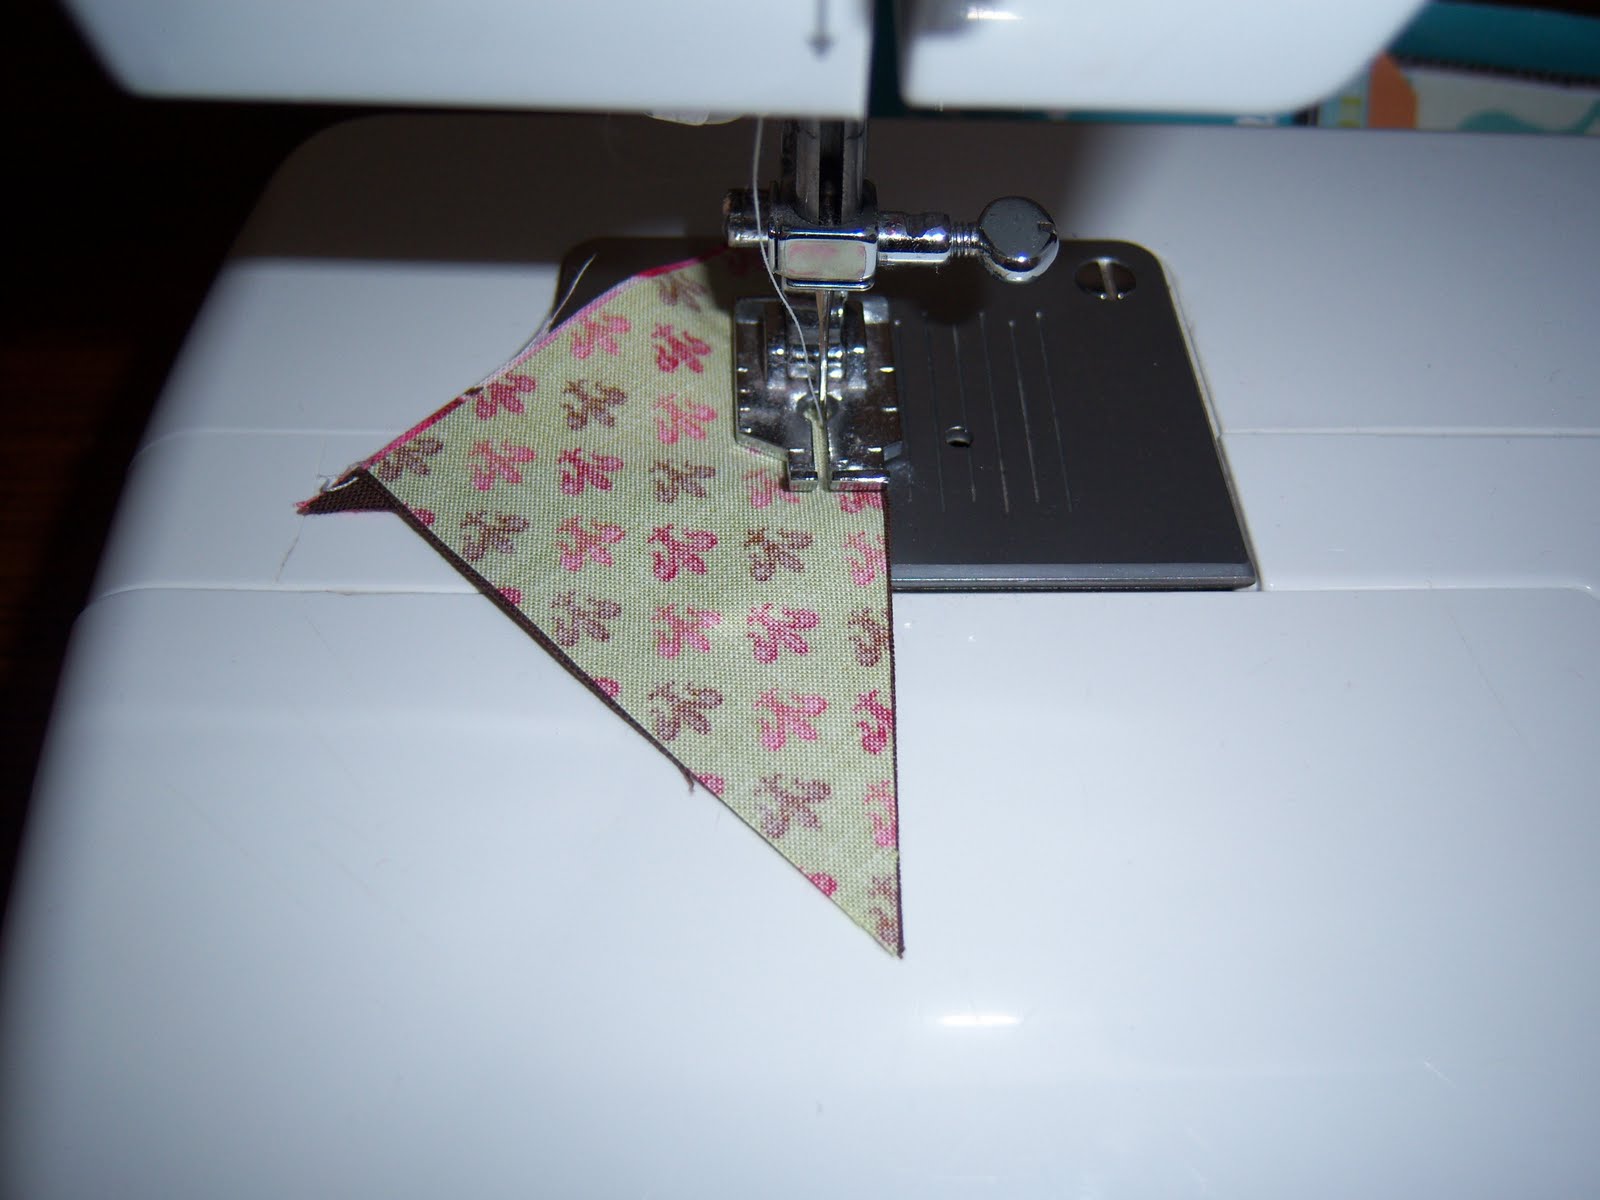
These blocks should resemble something like this:

Now lay out your entire block so it looks like this, your center pieces are the 2 1/2 inch squares from your Print 2!:
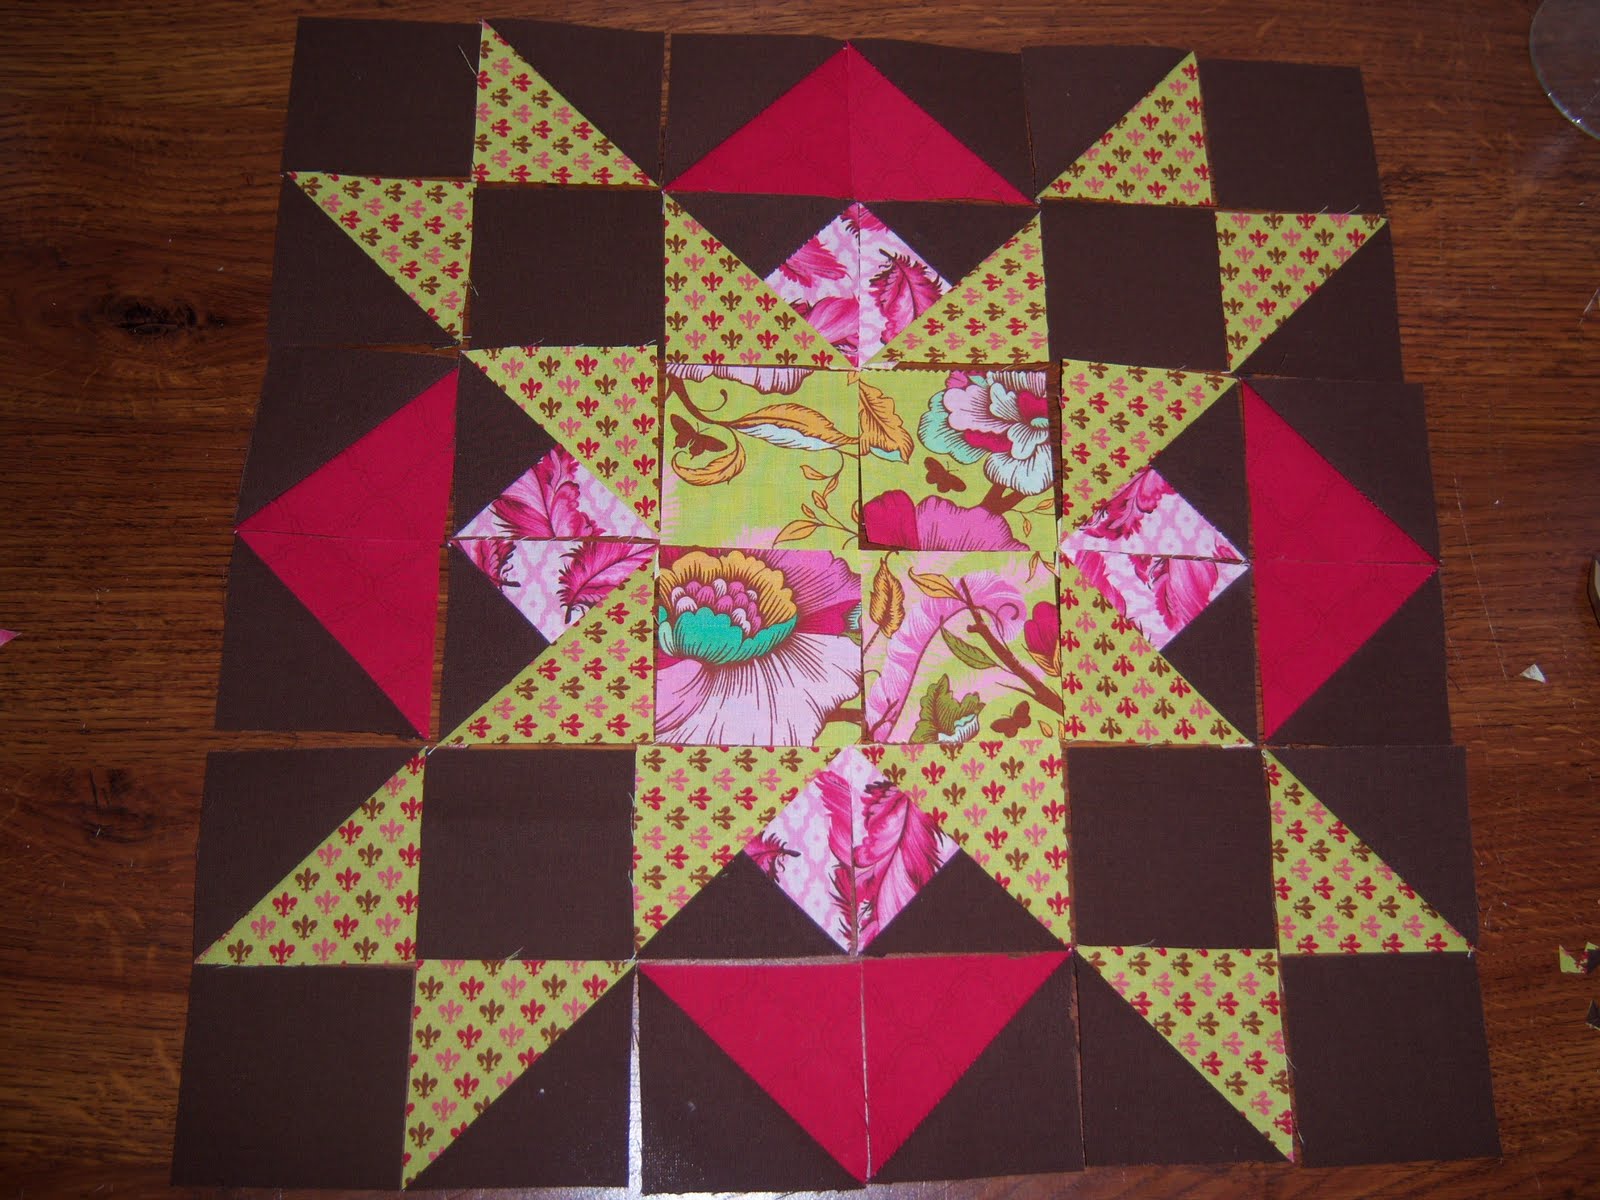
(pssst....mine isn't sewn together yet! i laid it out on my desk right where my sewing machine goes to take the pic, and whoops I was too freakin' lazy to move them all to sew them!)
July 30, 2010
star sampler quilt along update
I haven't abandoned you, I PROMISE!!!
Life happens to everyone and I'm no exception. Still trying to strike a balance between newly single mom, new job, and doing all that comes along with it. See, being in EMS you have to be part of a certain system that your employer is in and well, I have to switch systems to one other than the one where I was put in when I graduated. That means learning new standing orders and policies and procedures.
So please bear with me as I settle into my many new roles :)
Life happens to everyone and I'm no exception. Still trying to strike a balance between newly single mom, new job, and doing all that comes along with it. See, being in EMS you have to be part of a certain system that your employer is in and well, I have to switch systems to one other than the one where I was put in when I graduated. That means learning new standing orders and policies and procedures.
So please bear with me as I settle into my many new roles :)
July 17, 2010
*star sampler* block 7


July 10, 2010
*star sampler* block 6
I'm going to direct you to the tutorial at The Silly BooDilly for instructions. This is an EXCELLENT way to use up scraps and miss cuts you may have! Instructions are for a 12 1/2 inch block like we've been making.
Some inspiration
1. Wonky Stars, 2. Wonky stars, 3. wonky star practice run, 4. Wonky Star, 5. brown wonky star, 6. my 3rd wonky star for Blossom, 7. orange wonky star, 8. April Pretty in Pink Bee - Wonky stars, 9. pink wonky star
June 26, 2010
*star sampler* block 5
- 1 - 4 7/8" x 9 3/4" rectangle
- 5 - 4 1/2" squares
- 1 - 4 7/8" x 9 3/4" rectangle
- 8 - 2 1/2" squares


Take 1 solid square and one print #2 square. Place it on the fabric so the ends of the line goes from center to center on the solid. Sew on this line.


June 20, 2010
*star sampler* block 4

You will need:
From your solid:
- 4 - 4 1/2 inch squares
- 2 - 5 1/4 inch squares each cut twice diagonally to get 8 triangles
- 1 - 4 1/2 inch square
- 1 - 5 1/4 inch square cut twice diagonally to get 4 triangles
- 1 - 5 1/4 inch square cut twice diagonally to get 4 triangles

Start by sewing each print triangle to a piece of your solid.

Once you have completed those press all seams to the darker side. Next you are going to join 2 of those larger triangles from the above step.

They should look like hour glasses when they're done, the above obviously aren't sewn but that's the look you're going for.
Do this for all your larger triangles, you should have 4 hourglass blocks total.
Now, layout your block like so:

This is what your finished block should resemble:

There is your finished super easy peasy lemon squeezy Ohio star block!
If you're looking for other blocks you can find them at the links below:
*star sampler* block 1
*star sampler* block 2
*star sampler* block 3
June 5, 2010
*star sampler* block 1

What you will need:
Solid:
Print 1 (mine is fleur de lis):
Print 2 (mine is the dark color):

You're going to start by sewing your triangles from the 2nd print to your solid triangles. Make 4 of these. Press your seams toward the darker side or open if you prefer.

Next, you're going to add the pieces from the above step to the triangles from your first print. Make 4 of these. Press seam toward the print you just added or open.

Now arrange your block like so:

Stitch your rows up and press your seams toward the solid square on each row, this will make them nest nicely when you sew them. You can also press them open if you prefer. Your finished block will look like this:

Since all 16 blocks are going to be different you only need to make one! Block 2 will need a duplicate print, just so you're aware. I would save your favorite prints for block #3, it's pure awesome and would look awesome with all prints, you will need 2 duplicate squares for this block if you choose to do all prints, if not, just one duplicate will be needed!
May 21, 2010
star sampler quilt along
Materials
We will be making 12 inch (finished) blocks.
We will be using a layer cake and 3 yards solid but feel free to use whatever fabric you like.
One block per week, posted on Sunday.
There is flickr group here.
At this point I'm not 100% sure of backing and binding yardage but estimating 4 yards backing and 1/2 yard binding.
First block (& all others) will be posted here June 6th!
Grab this button to post on your blog! Spread the word!

Who's in??
May 5, 2010



Subscribe to:
Posts (Atom)
