August 17, 2010

modern fabrics--a list

How often do you see swaps or projects out there that require modern fabrics?  What exactly constitutes a modern fabric?  is it a designer? is it a color scheme? is it certain pattern? style? trend?!  Your head, probably like mine was spinning when I first heard the term 'modern fabric'. 

Typically when I think of 'modern' fabric the first thing that pops into my head is not your gramma's typical fabric!  No more drab muted colors (mauve and seafoam anyone?!), dainty flowery prints, intricate detailing, or limited choices.  Modern, to me, entails bold colors, contrast, daring color combinations, clean lines, simple detailing, and trendy.  Birds and owls are hot trends right now, therefore I would consider that more modern.  Polka dots are timeless but I would consider an organized polka dot pattern modern, or a polka dot pattern with more than 2 colors.  Big polka dots are also hot right now.

Color combinations is another thing that I think dictates modern.  A fabric with lime green, red, pink, and grey is not exactly something that sounds pretty on paper but when you see it, it looks stunning.  Red and aqua is another hot color combination.  Anything turquoise is hot too.  Colors are bright and vibrant.  

Certainly when you hear a designer's name it automatically sets off that lightbulb that it's a modern fabric.  Other designers that might not set off that 'modern lightbulb' can most definitely be considered modern, I think there are some designers that can create both modern and traditional fabrics.  And one thing to remember is that what's considered modern today might not be considered modern 5 years from now. 

I also think that when you pair modern fabrics with some very traditional style patterns you can create a gorgeous masterpiece and we're finding more and more of that happening.  My own Star Sampler Quilt Along is made using some very traditional patterns but as I'm putting together the tutorials along with the fabrics (I'm using Tula Pink's Plume) I'm stunned at how fabric choices can really up the ante so to speak. 

When trying to decide if something is a modern fabric or not ask yourself a couple questions.  How would I classify this color? is it bright, muted, drab?  What about the print on the fabric itself? is it fresh? timeless? crisp? unique?  Is it trendy? 

And remember this, not all modern fabric has to break the bank.  I have found some great quality fabric that fits all the modern 'standards' at Hobby Lobby for less than $5 a yard. You can also have fabric that looks modern and is of a crappy quality.  Just remember, when swapping, use high quality fabrics!

I hope this has helped to de-mystify modern fabrics for you!

August 16, 2010

Pattern Giveaway!

To make up for my lame blogging attempts I'm going to do a giveaway!

Up for grabs is a copy of my pattern Peaks and Valleys and 18 jelly roll strips from Moda Half Moon, there is only 1 black strip in the mini roll so it's mostly whites.


All you have to do to enter is leave a comment!

No need to become a follower, but if you do leave a comment and get an extra entry.  If you're already a follower you can leave a comment for an extra entry.  I'll pick a winner sometime on Saturday 8/21!

And if you don't win you can always purchase a pattern in my etsy shop for just $6!  Price lowered by $2!

keep your eyes peeled

Giveaway coming later today!

August 14, 2010

*star sampler* block 9

Block 9 is here! 

Here is what you will need:

From your SOLID (mine is brown):
  • 8 - 2 1/2" squares
  • 8 - 2 7/8" squares
  • 2 - 3 1/4" squares
From PRINT 1 (mine is lime green fleur de lis):
  • 4 - 2 7/8" squares cut diagonally to make 8 triangles
  • 4 - 2 7/8" squares NOT cut diagonally
From PRINT 2 (mine is a combo of 3 prints, hot pink, pink feathers and lime green floral print)
  • 4 - 2 7/8" squares (mine are the hot pink)
  • 2 - 3 1/4" squares (mine are the pink feathers)
  • 4 - 2 1/2" squares (mine are the lime green floral print) 

 
Now, start by marking a diagonal line on the back of all 8 of your solid 2 7/8" squares.  I don't have a photo of this since my line wasn't very noticeable on the back of my brown. 

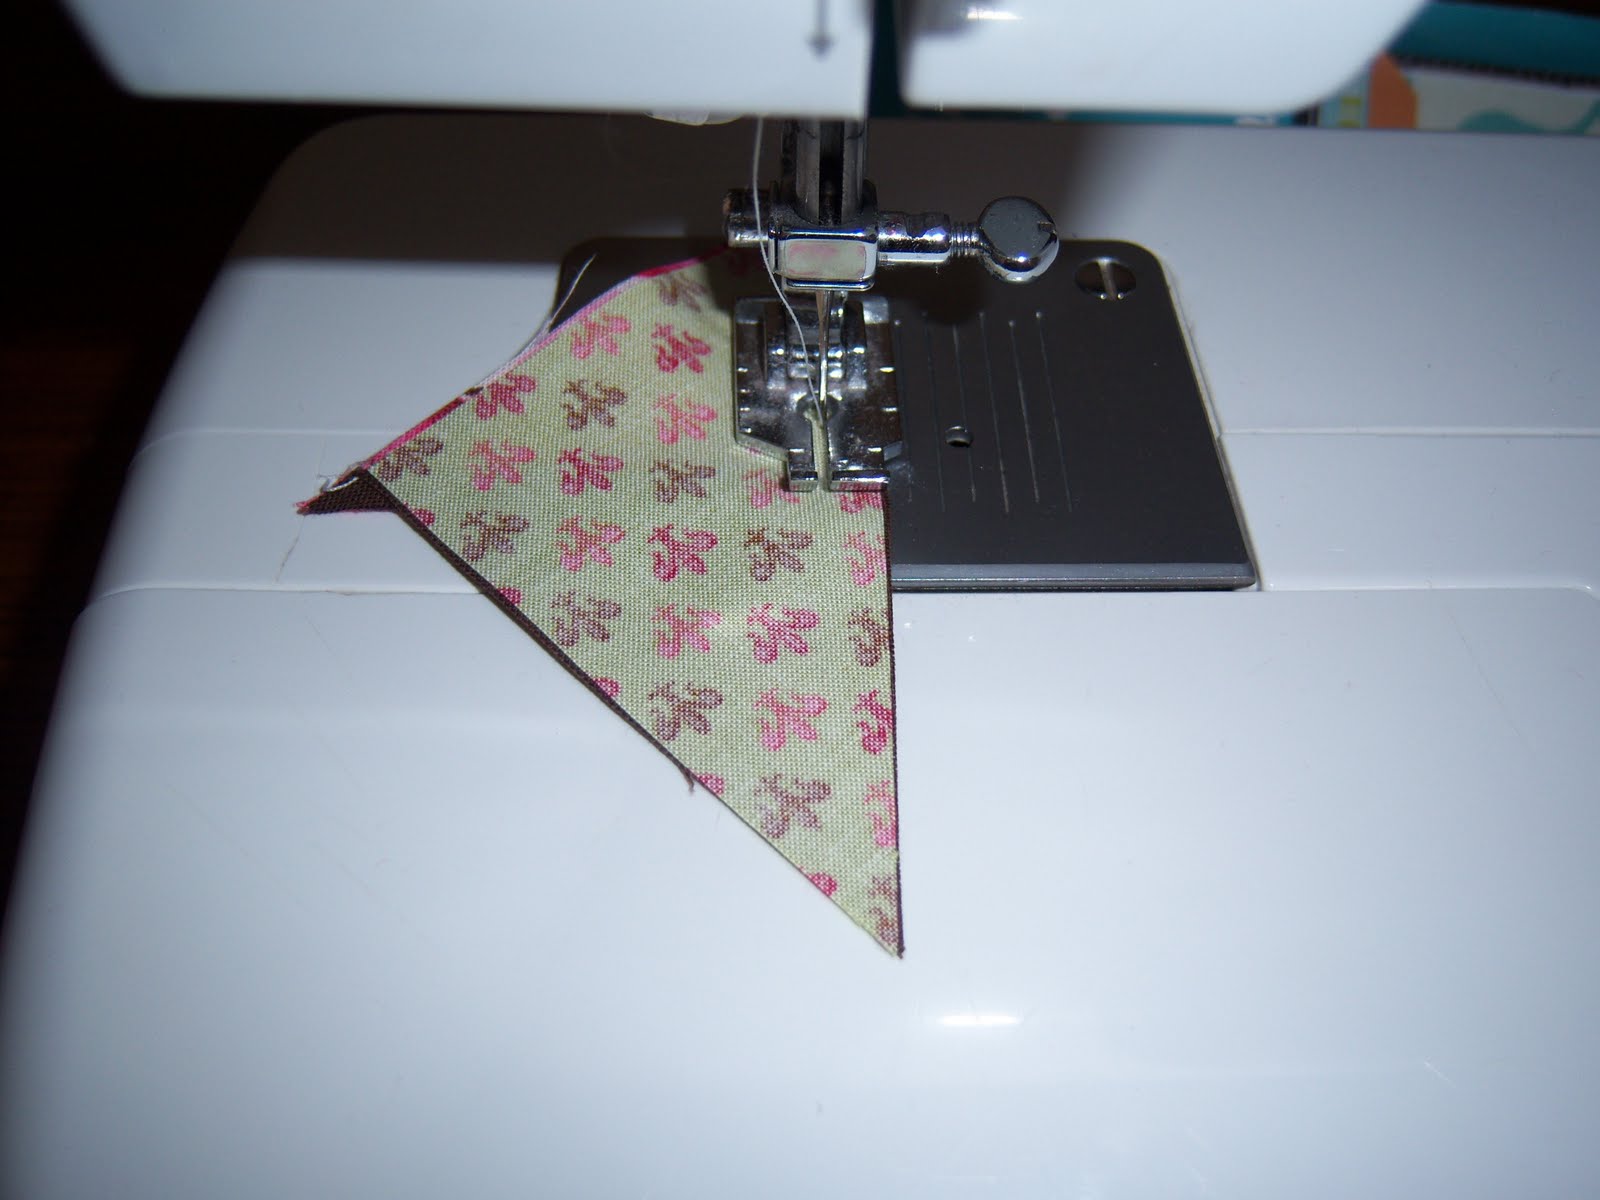
Pair one solid 2 7/8" square with the 2 7/8" squares from Print 1 and Print 2.  Stitch a SCANT 1/4" seam on each side of the diagonal line. 
It's very important that this is a SCANT seam!!!  Each square in this block should measure 2 1/2", you can always trim them down if they're slightly too big, better too big than too small!

Now trim each of those blocks on the drawn line and press your HSTs open.

Now, repeat the above 2 steps with your 3 1/4" squares.

Next take the blocks you made with your 3 1/4" squares and cut them in half diagonally like this, do this to all the triangles so it will yield 8 total solid/print triangles:

Take your 8 triangles of Print 1 and pair it with the above pieces.

These blocks should resemble something like this:

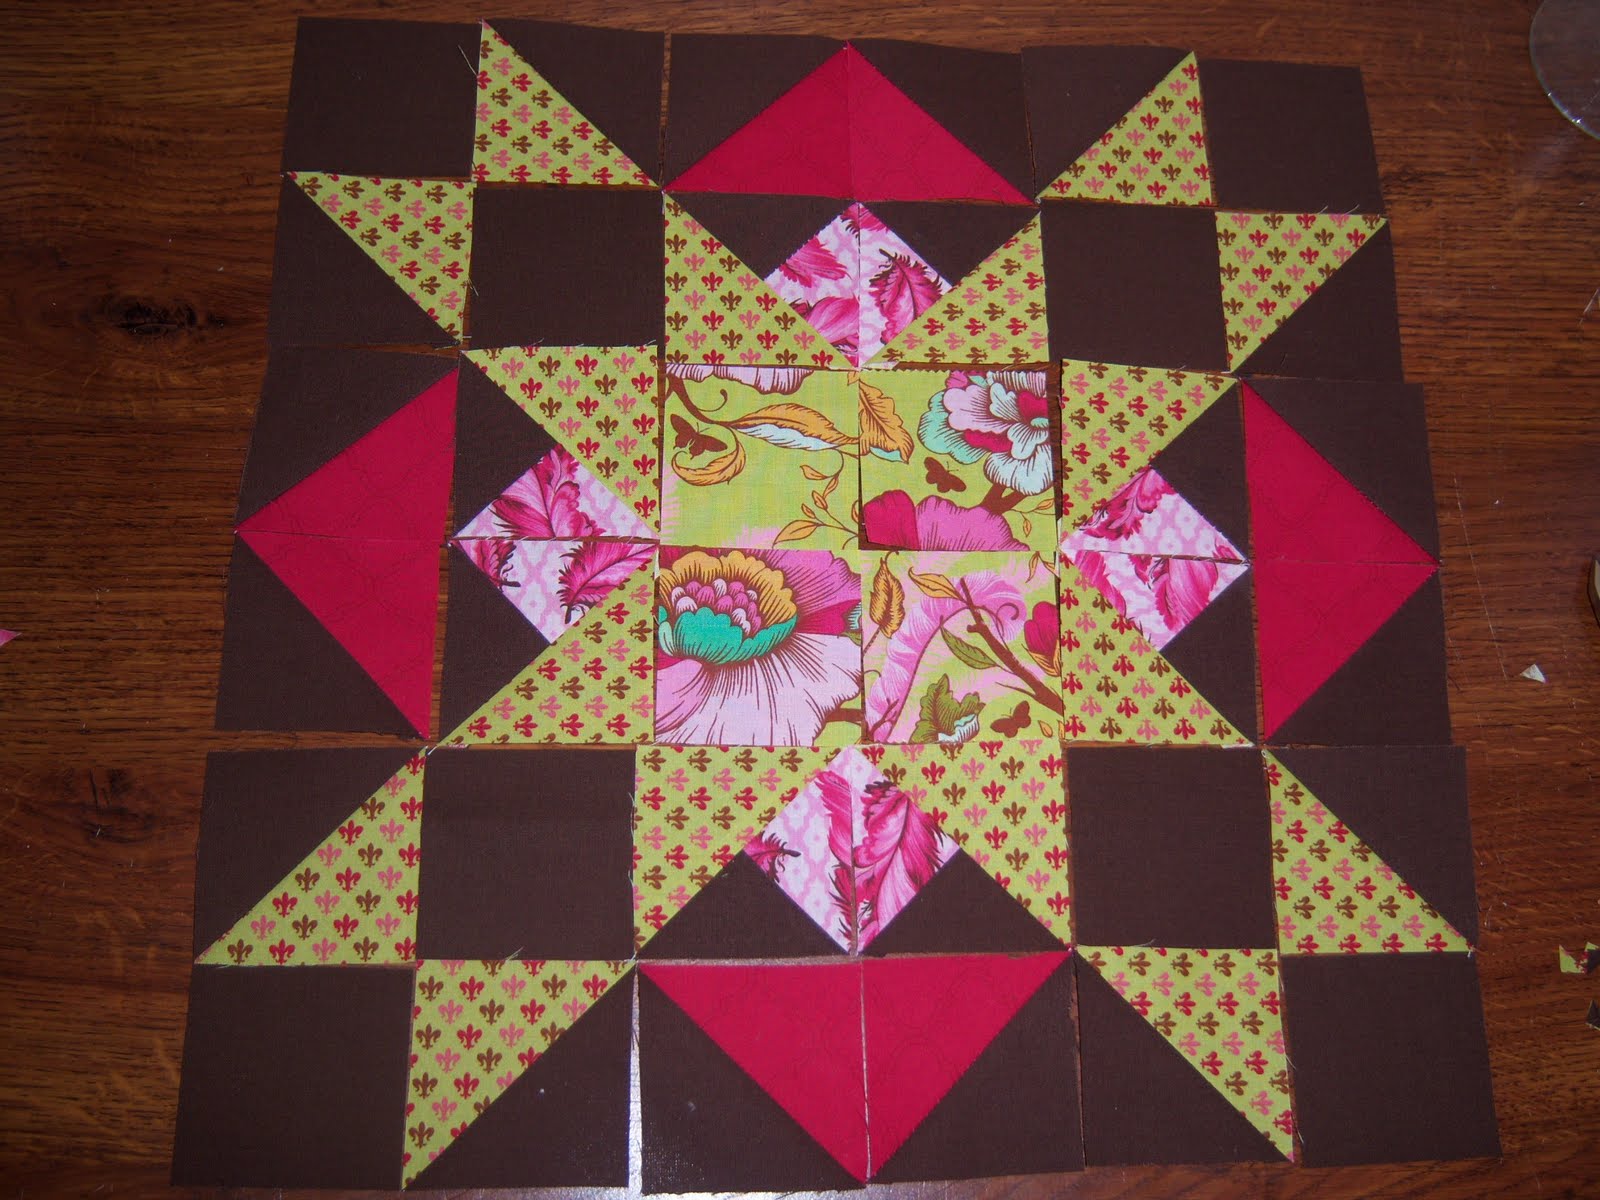
Now lay out your entire block so it looks like this, your center pieces are the 2 1/2 inch squares from your Print 2!:
Note: each of row has 6 - 2 1/2" squares and there are 6 rows.  You should have 36 pieces total.


(pssst....mine isn't sewn together yet!  i laid it out on my desk right where my sewing machine goes to take the pic, and whoops I was too freakin' lazy to move them all to sew them!)

August 10, 2010

swap update

I've decided to cancel the swap.  With a very pathetic turn out it only makes sense.  Hopefully in the future we can revisit the idea but for now, I have to say it's over. 

Thanks to those who signed up, I appreciate it. 

Star sampler block 9 will be posted later today.

July 31, 2010

*star sampler* block 8

As promised here is block 8!  This one is super simple but a little tedious.  Here is the cutting list for this block:


From your SOLID:
  • 4 - 4 1/2" squares
  • 8 - 2 1/2" squares
From PRINT 1 (mine is the yellow w/ green feathers):
  • 1 - 4 1/2" square
From PRINT 2 (mine is the white-ish color):
  • 8 - 2 1/2" squares
From PRINT 3 (mine is the green w/ pink feathers):
  • 4 - 4 1/2" squares

Start by drawing a diagonal line on the back of each of your 2 1/2" squares.  I'm only showing you my white because you can barely see the black line on the back of my brown solid.

Now, take one of your PRINT 3 and add a square of your PRINT 2 to one of the corners and sew on the drawn line, **repeat the next 4 steps for each of the four print 3 squares**:


Now, cut 1/4" away from your sewn line to create your seam allowance.


Repeat the previous 2 steps on the other corner:


Your square should now look like this:

Now, repeat the above 4 steps to the other side with your solid, once finished it should look like this and have FOUR squares like this:

Layout your blocks like the finished block below:

guess what??  the white squares and the green feathers were originally cuts I made that were wrong from earlier blocks, so this is a good way to use some scraps :)

July 30, 2010

star sampler quilt along update

I haven't abandoned you, I PROMISE!!!

Life happens to everyone and I'm no exception.  Still trying to strike a balance between newly single mom, new job, and doing all that comes along with it.  See, being in EMS you have to be part of a certain system that your employer is in and well, I have to switch systems to one other than the one where I was put in when I graduated.  That means learning new standing orders and policies and procedures. 

So please bear with me as I settle into my many new roles :)
Related Posts Plugin for WordPress, Blogger...