June 28, 2010

Yep that's me!!!  I passed my state test and am now officially a Paramedic!!!!


June 26, 2010

*star sampler* block 5


Here it is! Better late than never :p This one is super simple and cute to boot! For this block you will need:
From your solid:
  • 1 - 4 7/8" x 9 3/4" rectangle
  • 5 - 4 1/2" squares
From Print 1 (mine is pink):

  • 1 - 4 7/8" x 9 3/4" rectangle
From Print 2 (mine is green):

  • 8 - 2 1/2" squares 


Start by taking your solid rectangle and draw a vertical line at 4 7/8" that divides the rectangle into 2 squares. 


Next, draw lines from the lower corner to the vertical line, this will make 4 triangles.  I know you're thinking WTH is this all about!?  Well, just trust me, you won't find this anymore difficult.


Pair this piece up with your print 1 rectangle, right sides together.  DO NOT SEW on the vertical line.  Just sew 1/4" on either side of the diagonal lines, when you're done press it and set aside.


Now, draw a diagonal line from corner to corner on each square of print #2.  


Take 1 solid square and one print #2 square.  Place it on the fabric so the ends of the line goes from center to center on the solid.  Sew on this line.


Then, measure 1/4" from your sewn line and trim.  Press to the dark side.  


Repeat the previous 2 steps on the other side.  Make 3 more of these for a total of 4.


Now we'll cut apart the rectangle.  Start by cutting ON the vertical line.


Then the on the diagonal lines.


Press your seams to the dark side.  

Arrange in the following manner:


Your final block should look like this!


June 25, 2010

very exciting day in my house

My 2 year old son peed and pooped on the potty today!!!!! Back to your regularly scheduled programming.

June 21, 2010

a big thank to you my readers

I want to thank all my readers for your support with my marriage ending, my test, and the quilt along. I'm so lucky to have such wonderful readers and commenters. I truly appreciate everything and all your sweet comments. I wish I could hug you all individually! From the bottom of my heart, thank you :)

June 20, 2010

*star sampler* block 4

Here's block 4, a classic Ohio star with a modern twist!

You will need:
From your solid:
  • 4 - 4 1/2 inch squares
  • 2 - 5 1/4 inch squares each cut twice diagonally to get 8 triangles
From your print 1 (mine is yellow):
  • 1 - 4 1/2 inch square  
From your print 2 (mine is pink):
  • 1 - 5 1/4 inch square cut twice diagonally to get 4 triangles   
From your print 3 (mine is green):
  • 1 - 5 1/4 inch square cut twice diagonally to get 4 triangles  

 Start by sewing each print triangle to a piece of your solid.

Once you have completed those press all seams to the darker side.  Next you are going to join 2 of those larger triangles from the above step.

They should look like hour glasses when they're done, the above obviously aren't sewn but that's the look you're going for.

Do this for all your larger triangles, you should have 4 hourglass blocks total.

Now, layout your block like so:
It really helps if you press your seams to the non-pieced squares, your seams won't be as bulky and they'll nest nicely when you're done.

This is what your finished block should resemble:

There is your finished super easy peasy lemon squeezy Ohio star block!

If you're looking for other blocks you can find them at the links below:
*star sampler* block 1
*star sampler* block 2
*star sampler* block 3

June 19, 2010

block 4 update

Just to let y'all know block 4 will be posted either later today or first thing tomorrow morning.  I've been busy studying for my paramedic licensing exam which is today! 

June 17, 2010

shopping at moms house

So I went to my mom's yesterday w/ the kids for a little while and ended up shopping at her house!  I came home with this:
A Huskylock 910 serger!  It does need to be fixed as the needles are hitting something they're not supposed to and causing it to stop.  But she hates it so I'm giving it a very loving home where it will be worked to death once it's fixed :p

I also brought home these:
A box of acrylic templates that are almost as old as I am.  My mom estimates she bought them about 23-24 yrs ago.  I'm very excited about the triangles in the bottom row 2nd from right, I'm hoping I can use these to make Cluck Cluck Sew's easy double hourglass blocks.

 It even came with a guide so you can mark them with their appropriate sizes.  Cool huh?

I also brought home some vintage linens and a really neat cork board that's outside drying, it's been spray painted aqua!

June 16, 2010

*star sampler* block 3

Better late than never!!  My memory card and computer decided to play nice finally :)  Enjoy!!

Block 3 is here!  And this one is super easy!  You can use a duplicate square but no real need to, I only did because the Plume layer cake has plenty of duplicates.  Another tip I want to pass along is to save your scraps!!  There will be times you can get additional cuts out of your left overs!  For this block you will need the following:

From your SOLID:
  • 6 - 3 7/8 inch squares
From Print 1 (mine is the feathers):
  • 4 - 3 7/8 inch squares 
From Print 2 (mine is the pink):
  • 6 - 3 7/8 inch squares

    **If you decide to use 3 prints (and your solid) cut 3 - 3 7/8 inch squares from your print 2 and your print 3,  you will follow all of the same cutting and sewing instructions, however, I will show you where to place each different fabric.

    Once you have cut all your fabrics mark a diagonal line from corner to corner on ALL solid pieces and on 2 of your print 2 fabrics.  (If using 3 prints total, you will mark a line on one of your print 2 and one of your print 3)

    Once you have done that you are going to pair up all of your squares.  Start off by sewing one of print 1 and one of print two, stitch 1/4" on either side of the line you drew.  If using 3 prints total, you will sew one of print 1 and one of print 2 together, and one of print 1 and one of print 3 together.

    Now do the same thing pairing up the rest with a solid and stitching in the same way. 

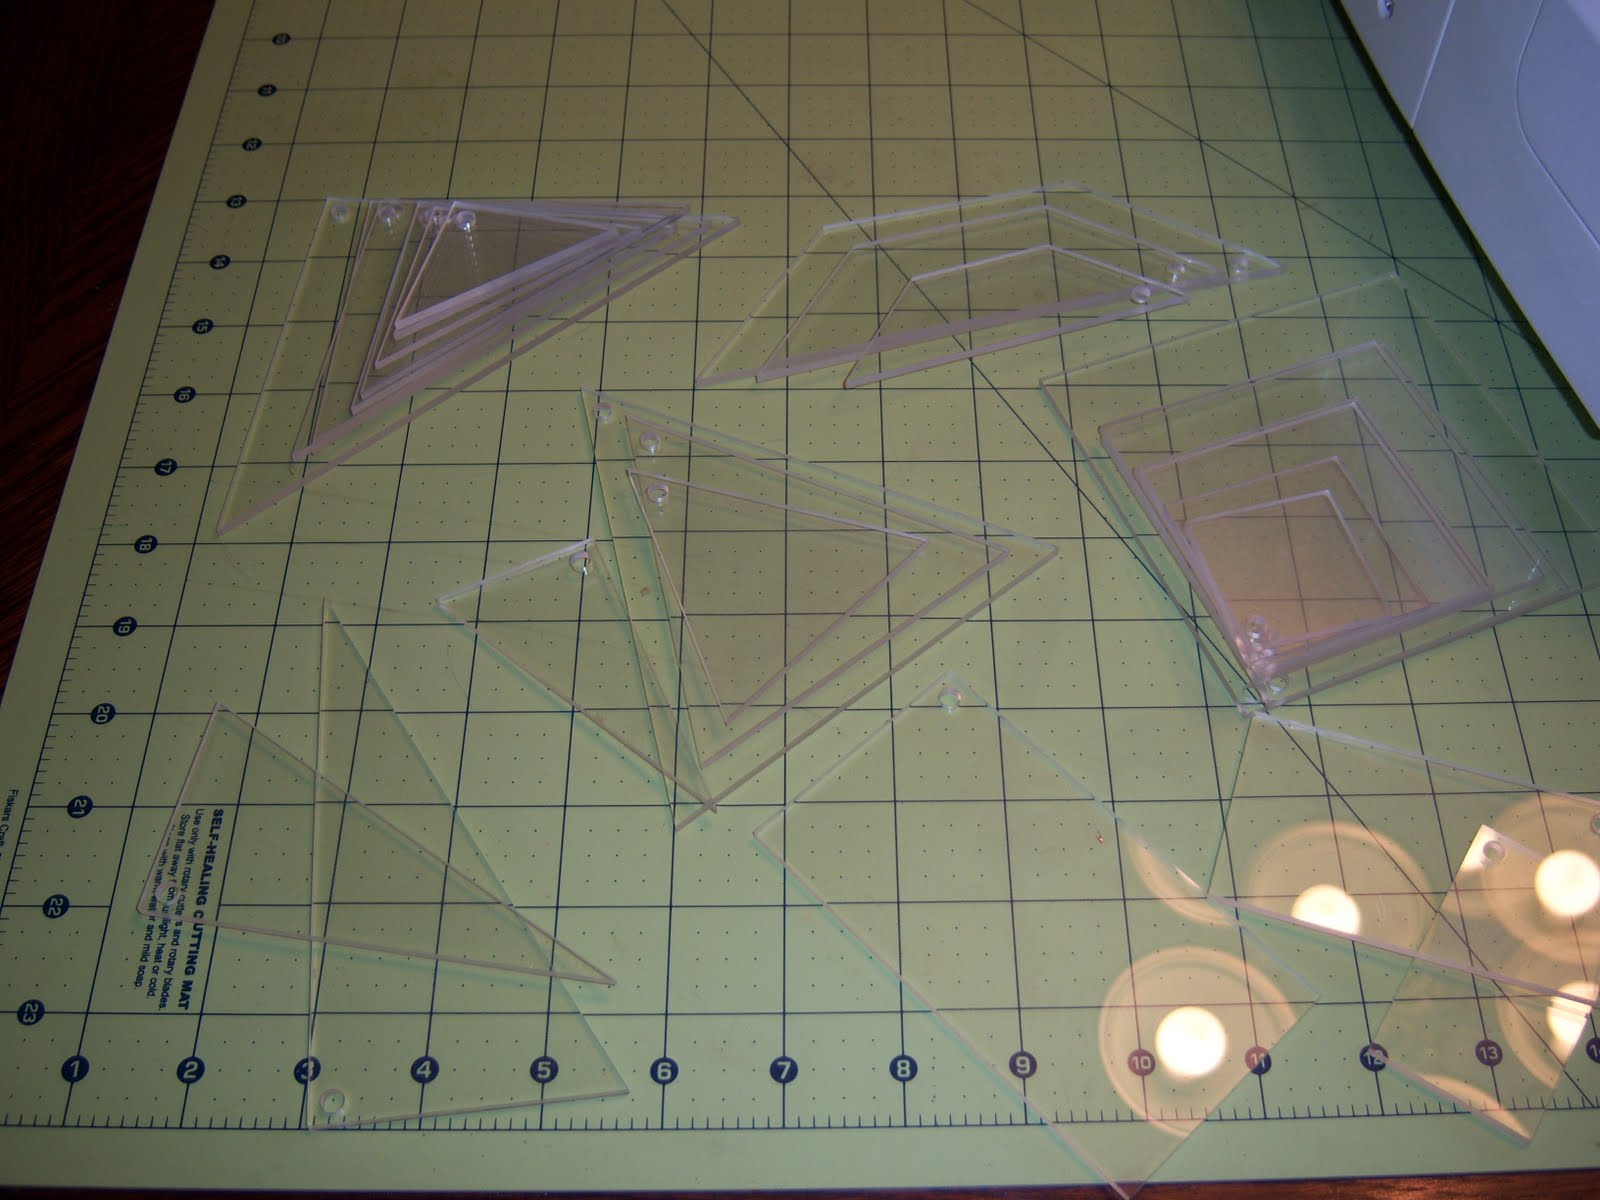
    Take out your rotary cutter, ruler, and mat.  Cut on the line you drew on every piece.

    You will now have a bunch of triangles:

    Now, press 'em all to the dark side *insert evil laugh*
    If using only 3 fabrics you will have 4 squares of solid and print 1, 4 squares of print 1 and print 2, and 8 squares of print 2 and solid.  If you are using 4 fabrics you will have the following, 4 squares of print 2 and solid, 4 squares of print 1 and solid, 2 squares of print 2 and print 3, 4 squares of print 3 and solid, and 2 of print 2 and print 1.  **Use this photo for reference if using 4 fabrics** ignore the #s sprouting from the block.  The squares w/ a box around them is for 3 fabrics, and the others are for the 4 fabric variety.  This is also the block layout using 4 fabrics!

    If using 3 fabrics this is your block layout!

    Stitch it all together alternating which way you press your seams in the rows and your finished result should resemble this:


    about block 3

    Ok, I had planned on posting block 3 today but my computer isn't reading my memory card all of a sudden!  I have all the photos done and tutorial written I just can't match photos w/ words at the moment.

    June 14, 2010

    hushabye quilts

    I finally finished my hushabye quilts!  They're about 37" square and backed with Kona Chocolate.  I machine stitched the binding just so they can get some good use with a sturdy edge.  I have no clue what the binding fabric is, I bought it pre-made from Joanns.


    I also won this purse from the Sew Mama Sew Giveaway Day over at Crafty Mama Creations.  It is truly an awesome purse!  Thank you Kelci!  I love it!  It's HUGE, which I adore, it's so bright and vibrant and best of all it's Nicey Jane!  Go check out her Etsy shop.  The quality is amazing too, it's very sturdy and well made.


    June 13, 2010

    when it rains, it pours

    Oy vey! What a day yesterday was! First it was crappy and rainy all day, then I went to leave to take back our Shrek glasses & dinner for the kids, well, my blasted car decided to vapor lock :mad: Some choice words were said then I gave up, for a few mins. Unloaded the kids went out once to try and start it no luck. Came back in for a few mins, then back out. Only this time I slipped on the stairs outside and landed square on my ass. I can't sit, or if I manage to get comfortable I can't get up. So I've been laying around on my left side because my righ hurts more. Not to mention the bruise the size of China on my ass too.

    Oh and I should mention I did the same thing this time last year, same shoes, same wet stairs.

    I also can't yell. Who knew that when you yelled your ass was involved. Now I know. So don't break your butt. It hurts.

    June 12, 2010

    *star sampler* block 2

    So because I'm a total ditz I sewed up block 3 this week instead of the block I had planned for this week. So we flop them :p This block is AWESOME! You will need the following cuts:
  • From your solid or another print:

  • -4 2 1/2 x 4 1/2 inch rectangles
    -1 5 1/4 inch square cut diagonally twice
    -1 4 1/2 inch square

  • From Print 1:

  • -4 2 1/2 x 4 1/2 inch rectangles
    -4 2 1/2 inch squares

  • From Print 2:

  • -2 4 7/8 inch squares each cut diagonally once

  • From Print 3:

  • -1 5 1/4 inch square cut diagonally twice
    -8 2 1/2 inch squares


    (please ignore the white squares, I cut those by mistake :p)

    On the back of each 2 1/2 inch square draw a diagonal line from corner to corner, you will be stitching on this line in the next step.


    Now, take a square of print 1 and place it right sides together with a rectangle of your solid. A tip to keep it straight & consistent, put the square on the right side with the line you drew running from the bottom right corner to the center of the rectangle. Stitch on this line. Make 4 of these.


    Do the same thing but putting the square of print 3 with the rectangle of print one. Stitch in the same manner as above, make 4 of these.


    Just set these aside for now because we need to trim them and we'll do all the trimming at once.

    Now, take your triangles of print 2 and place a square of your print 3 on the bottom corner with your drawn line on the back running parallel to the bias edge of the triangle. Make 4 of these.


    Since all of our pieces that need to be trimmed are now done we'll trim them! Take your ruler and place your ruler like so:


    Your ruler should have a hard line on the stitched seam with the edge of your ruler marking your cut line. Cut at the edge of the ruler and this will give you your 1/4" seam. REPEAT THIS ON ALL 12 PIECES!! Press your seams open or toward the dark side.

    Now, take your triangles of solid and print 3 and stitch together. When you put them together if you have your solid on top and stitch down the right side you won't become one with your seam ripper. :) When you're done, press all seams to the dark side or open.


    Now, take the rectangles from way up top and stitch together like the picture shows. For reference my print 3 is the brown fleur de lis. Make 4 of these.


    In this step you will need the 2 different triangles you made. Stitch them like this and press to the dark side.


    Now, arrange your rows like this, press each rows seams in opposite directions so they nest nicely when you attach the rows.


    Your final product should look a little similar to this:


    and I just spotted a goof of mine, the upper right hand corner is turned the wrong way
    Related Posts Plugin for WordPress, Blogger...